Integrations
Airtable
The Airtable integration allows you to automatically send responses to an Airtable of your choice.
This feature is enabled by default in Formbricks Cloud but needs to be self-configured when running a self-hosted version of Formbricks.
Formbricks Cloud
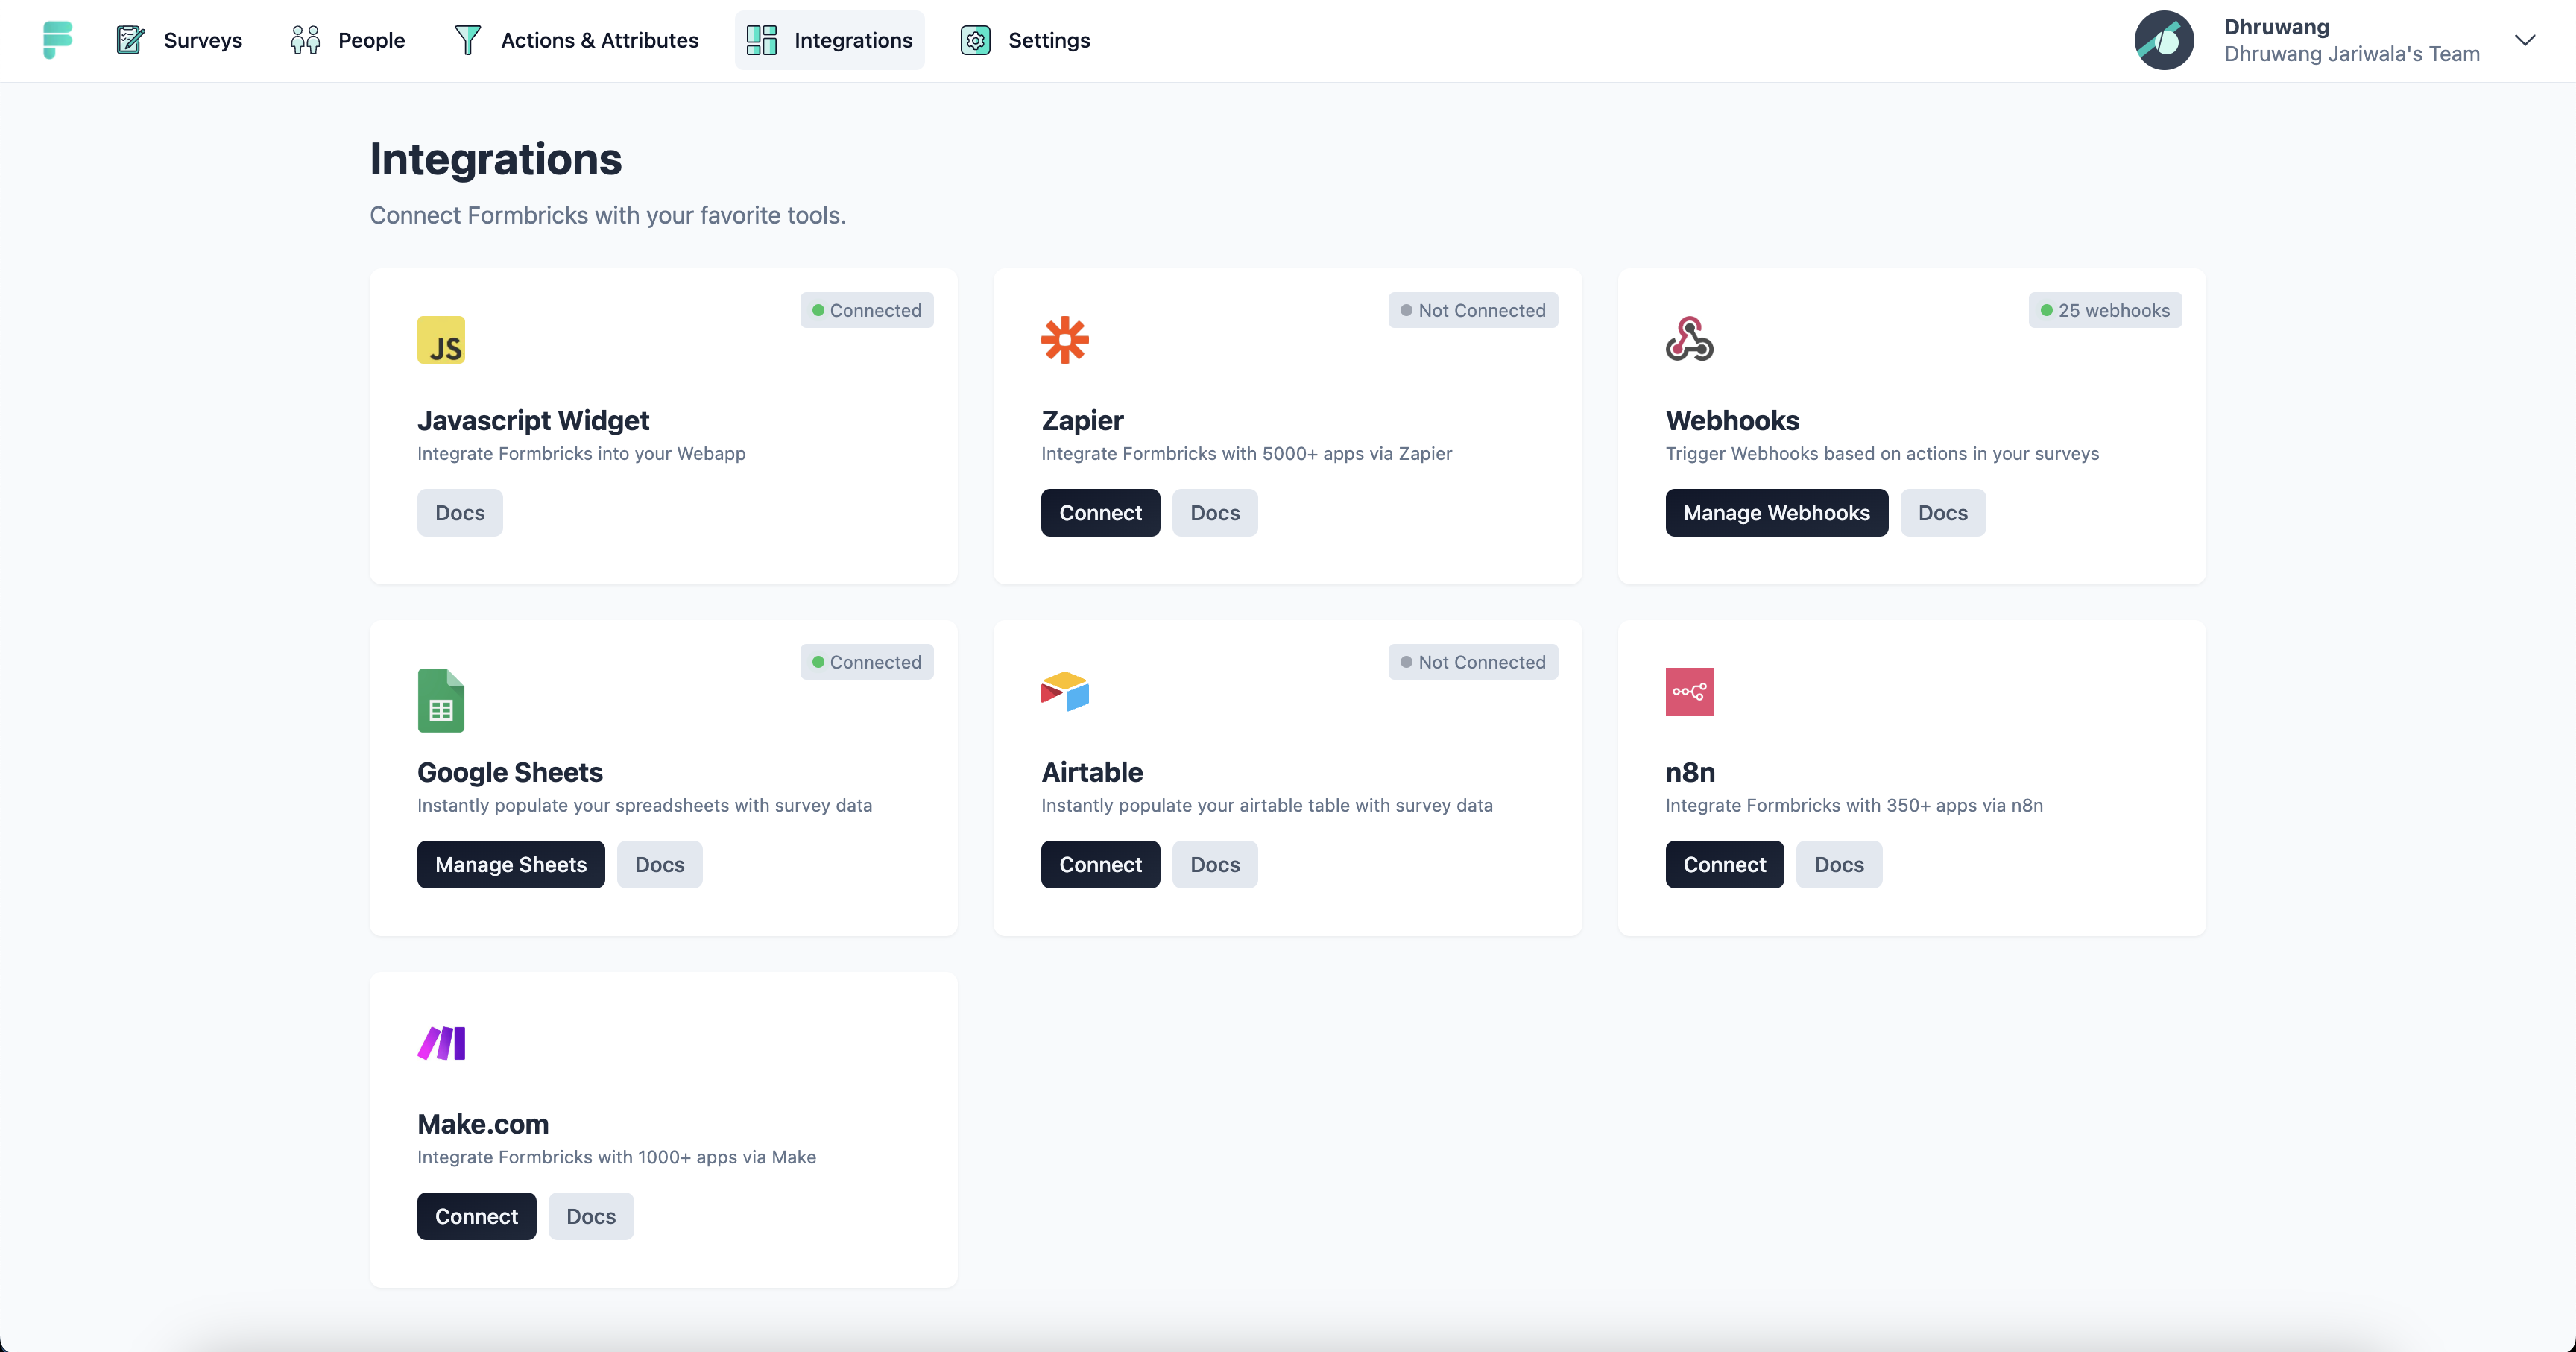
- Go to the Integrations tab in your Formbricks Cloud dashboard and click on the "Connect" button under Airtable integration.
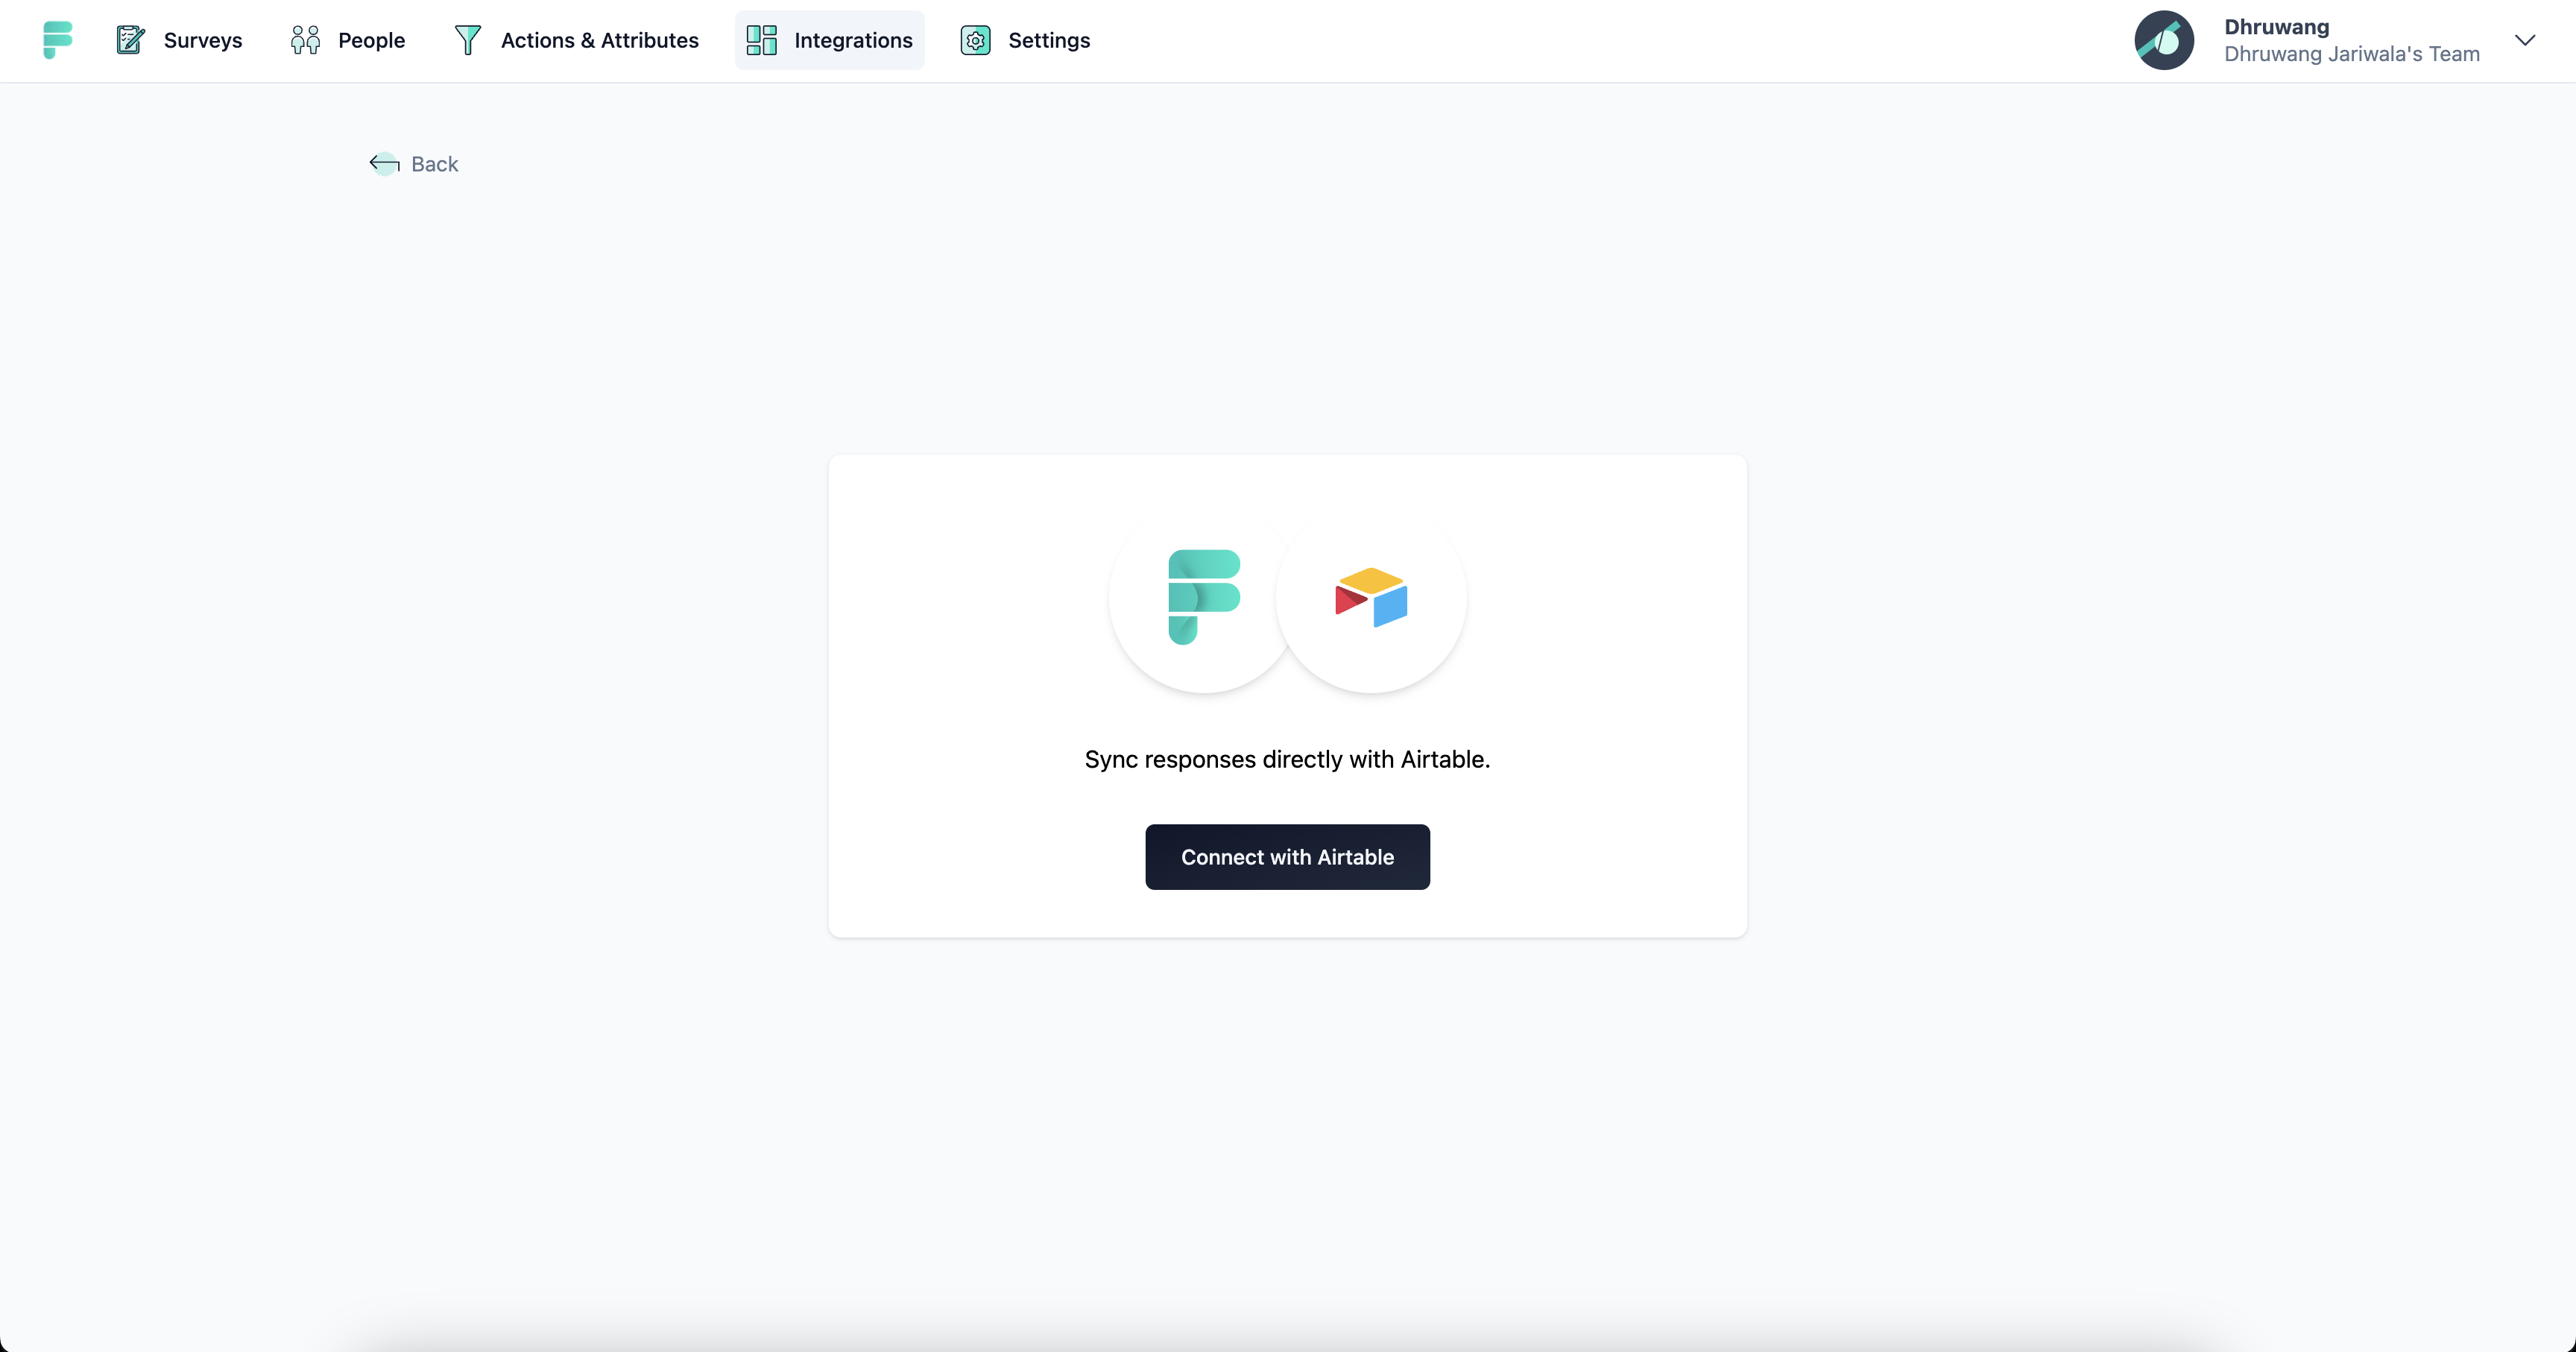
- Now click on the "Connect with Airtable" button to authenticate yourself with Airtable.
- You will now be taken to a page where you need to add and grant access to the base you want to use for the integration.
- Once you add and grant access to your base, you will be taken back to Formbricks Cloud and see the connected status as below:
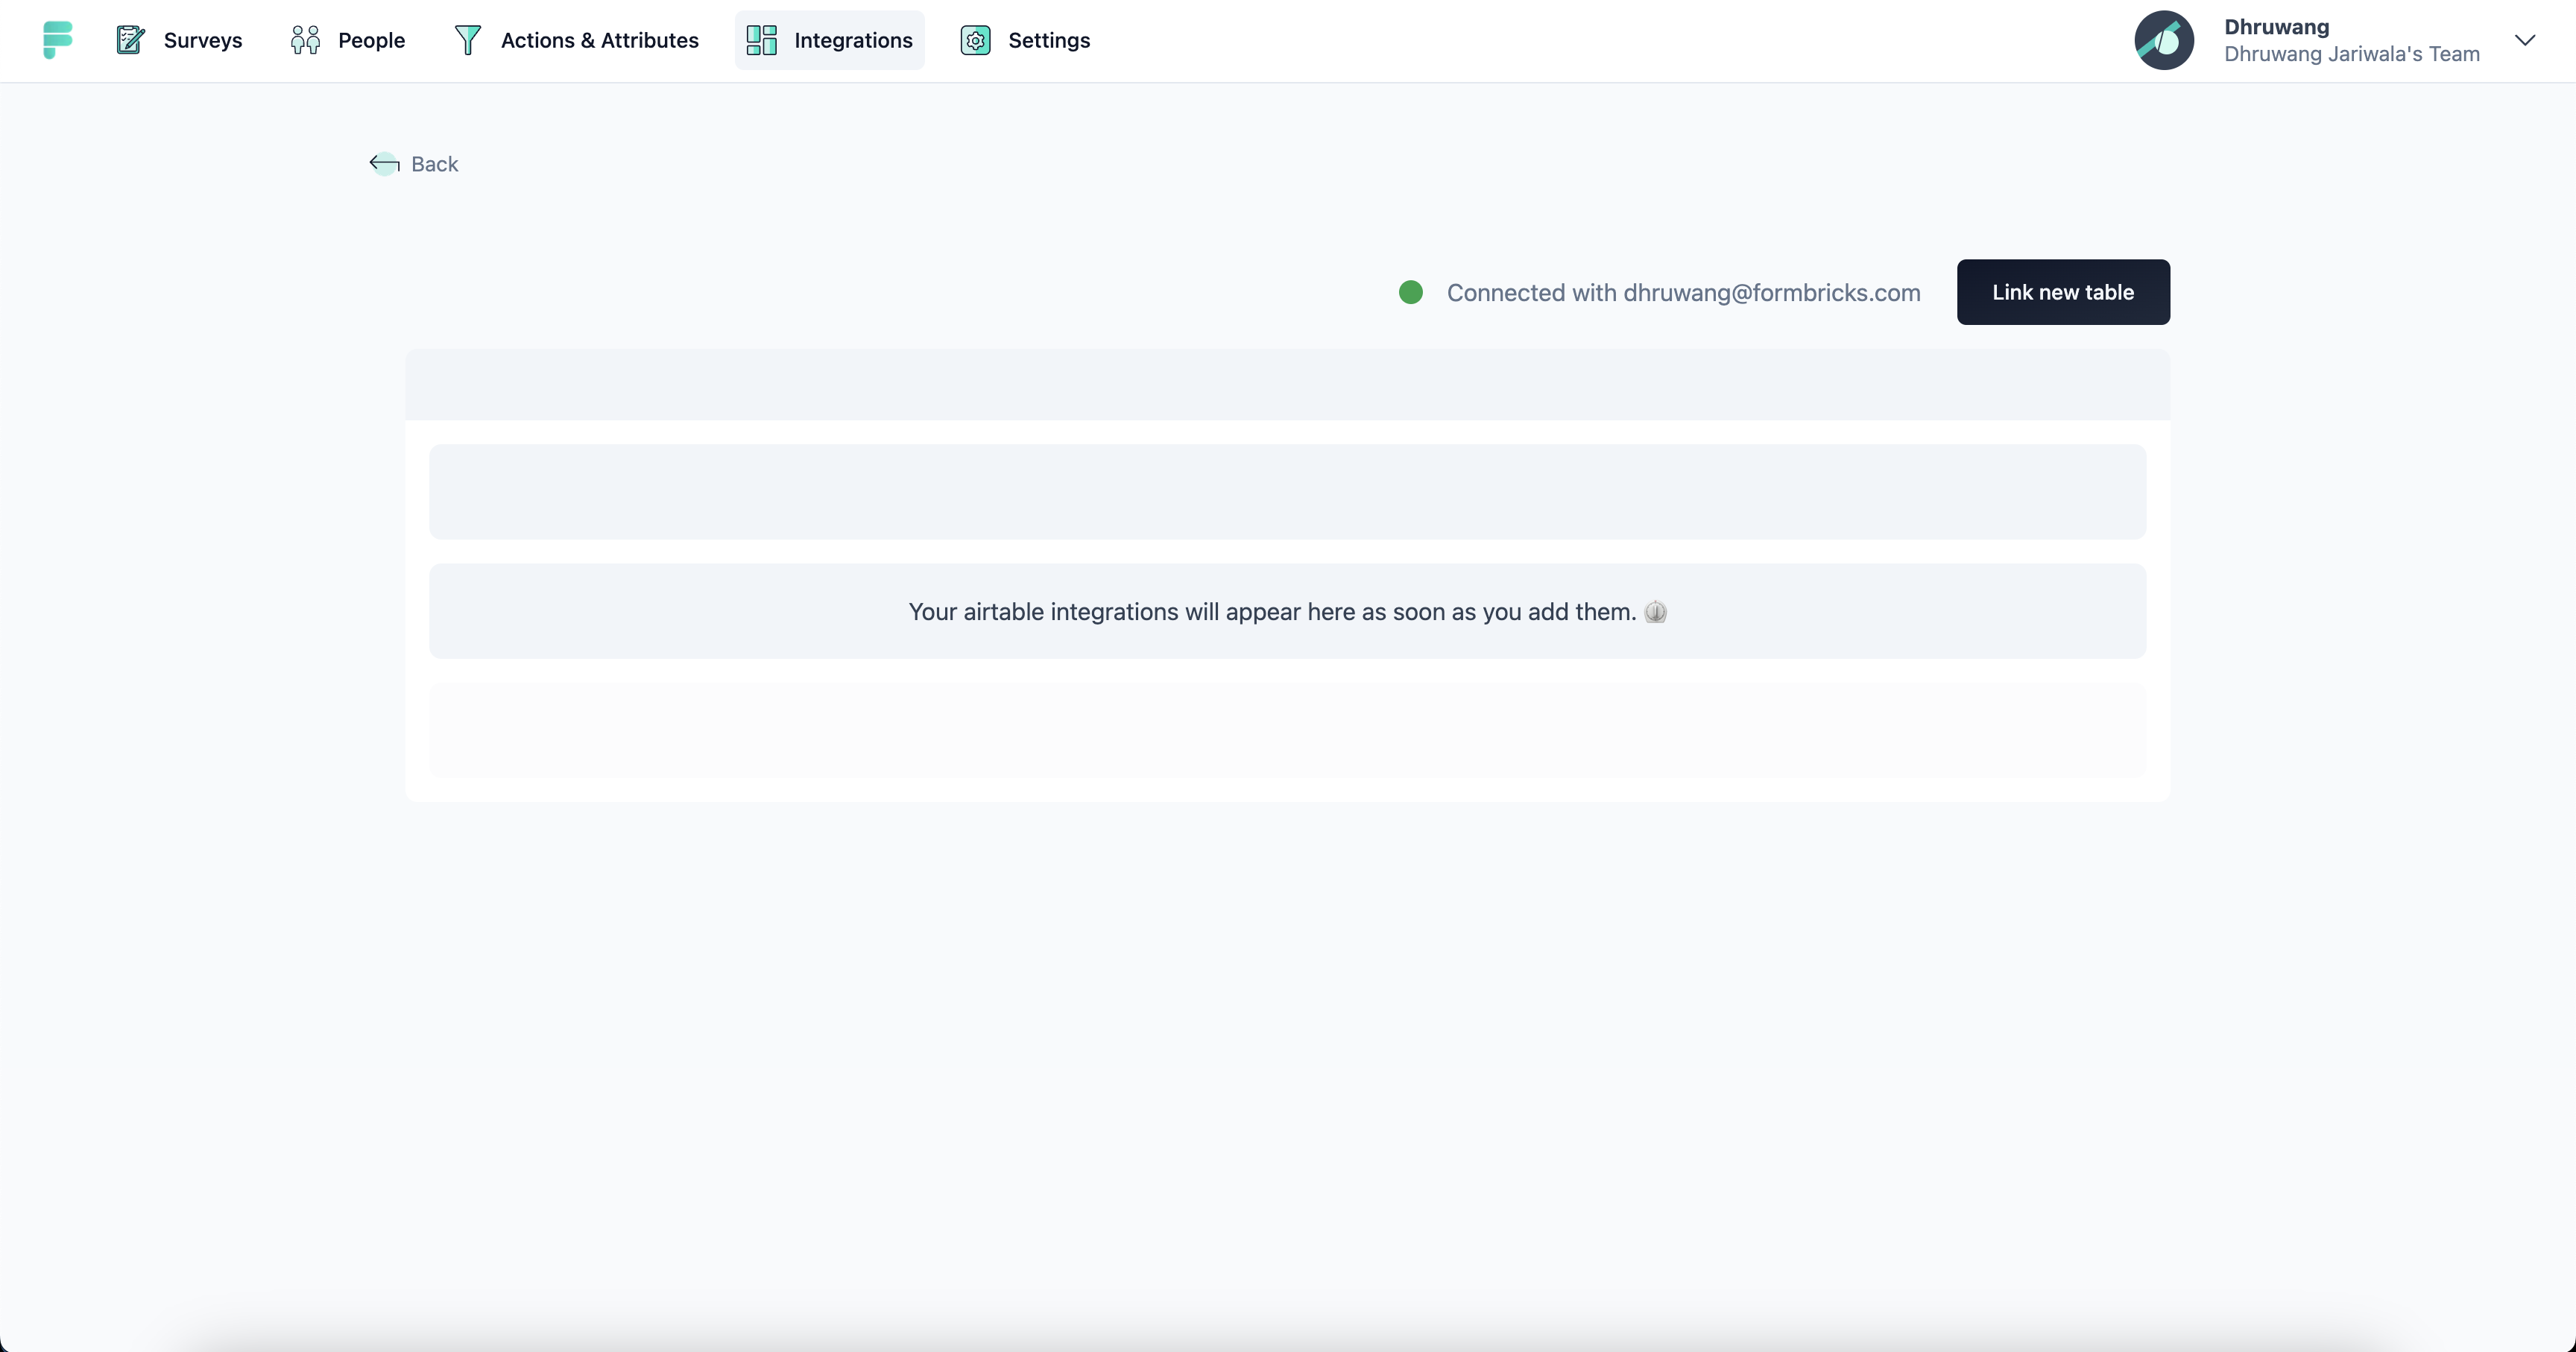
Before the next step, make sure that you have a Formbricks Survey with at least one question and a Airtable base with atleast one table in the Airtable account you integrated.
- Now click on the "Link New Table" button to link a new Airtable with Formbricks and a modal will open up.
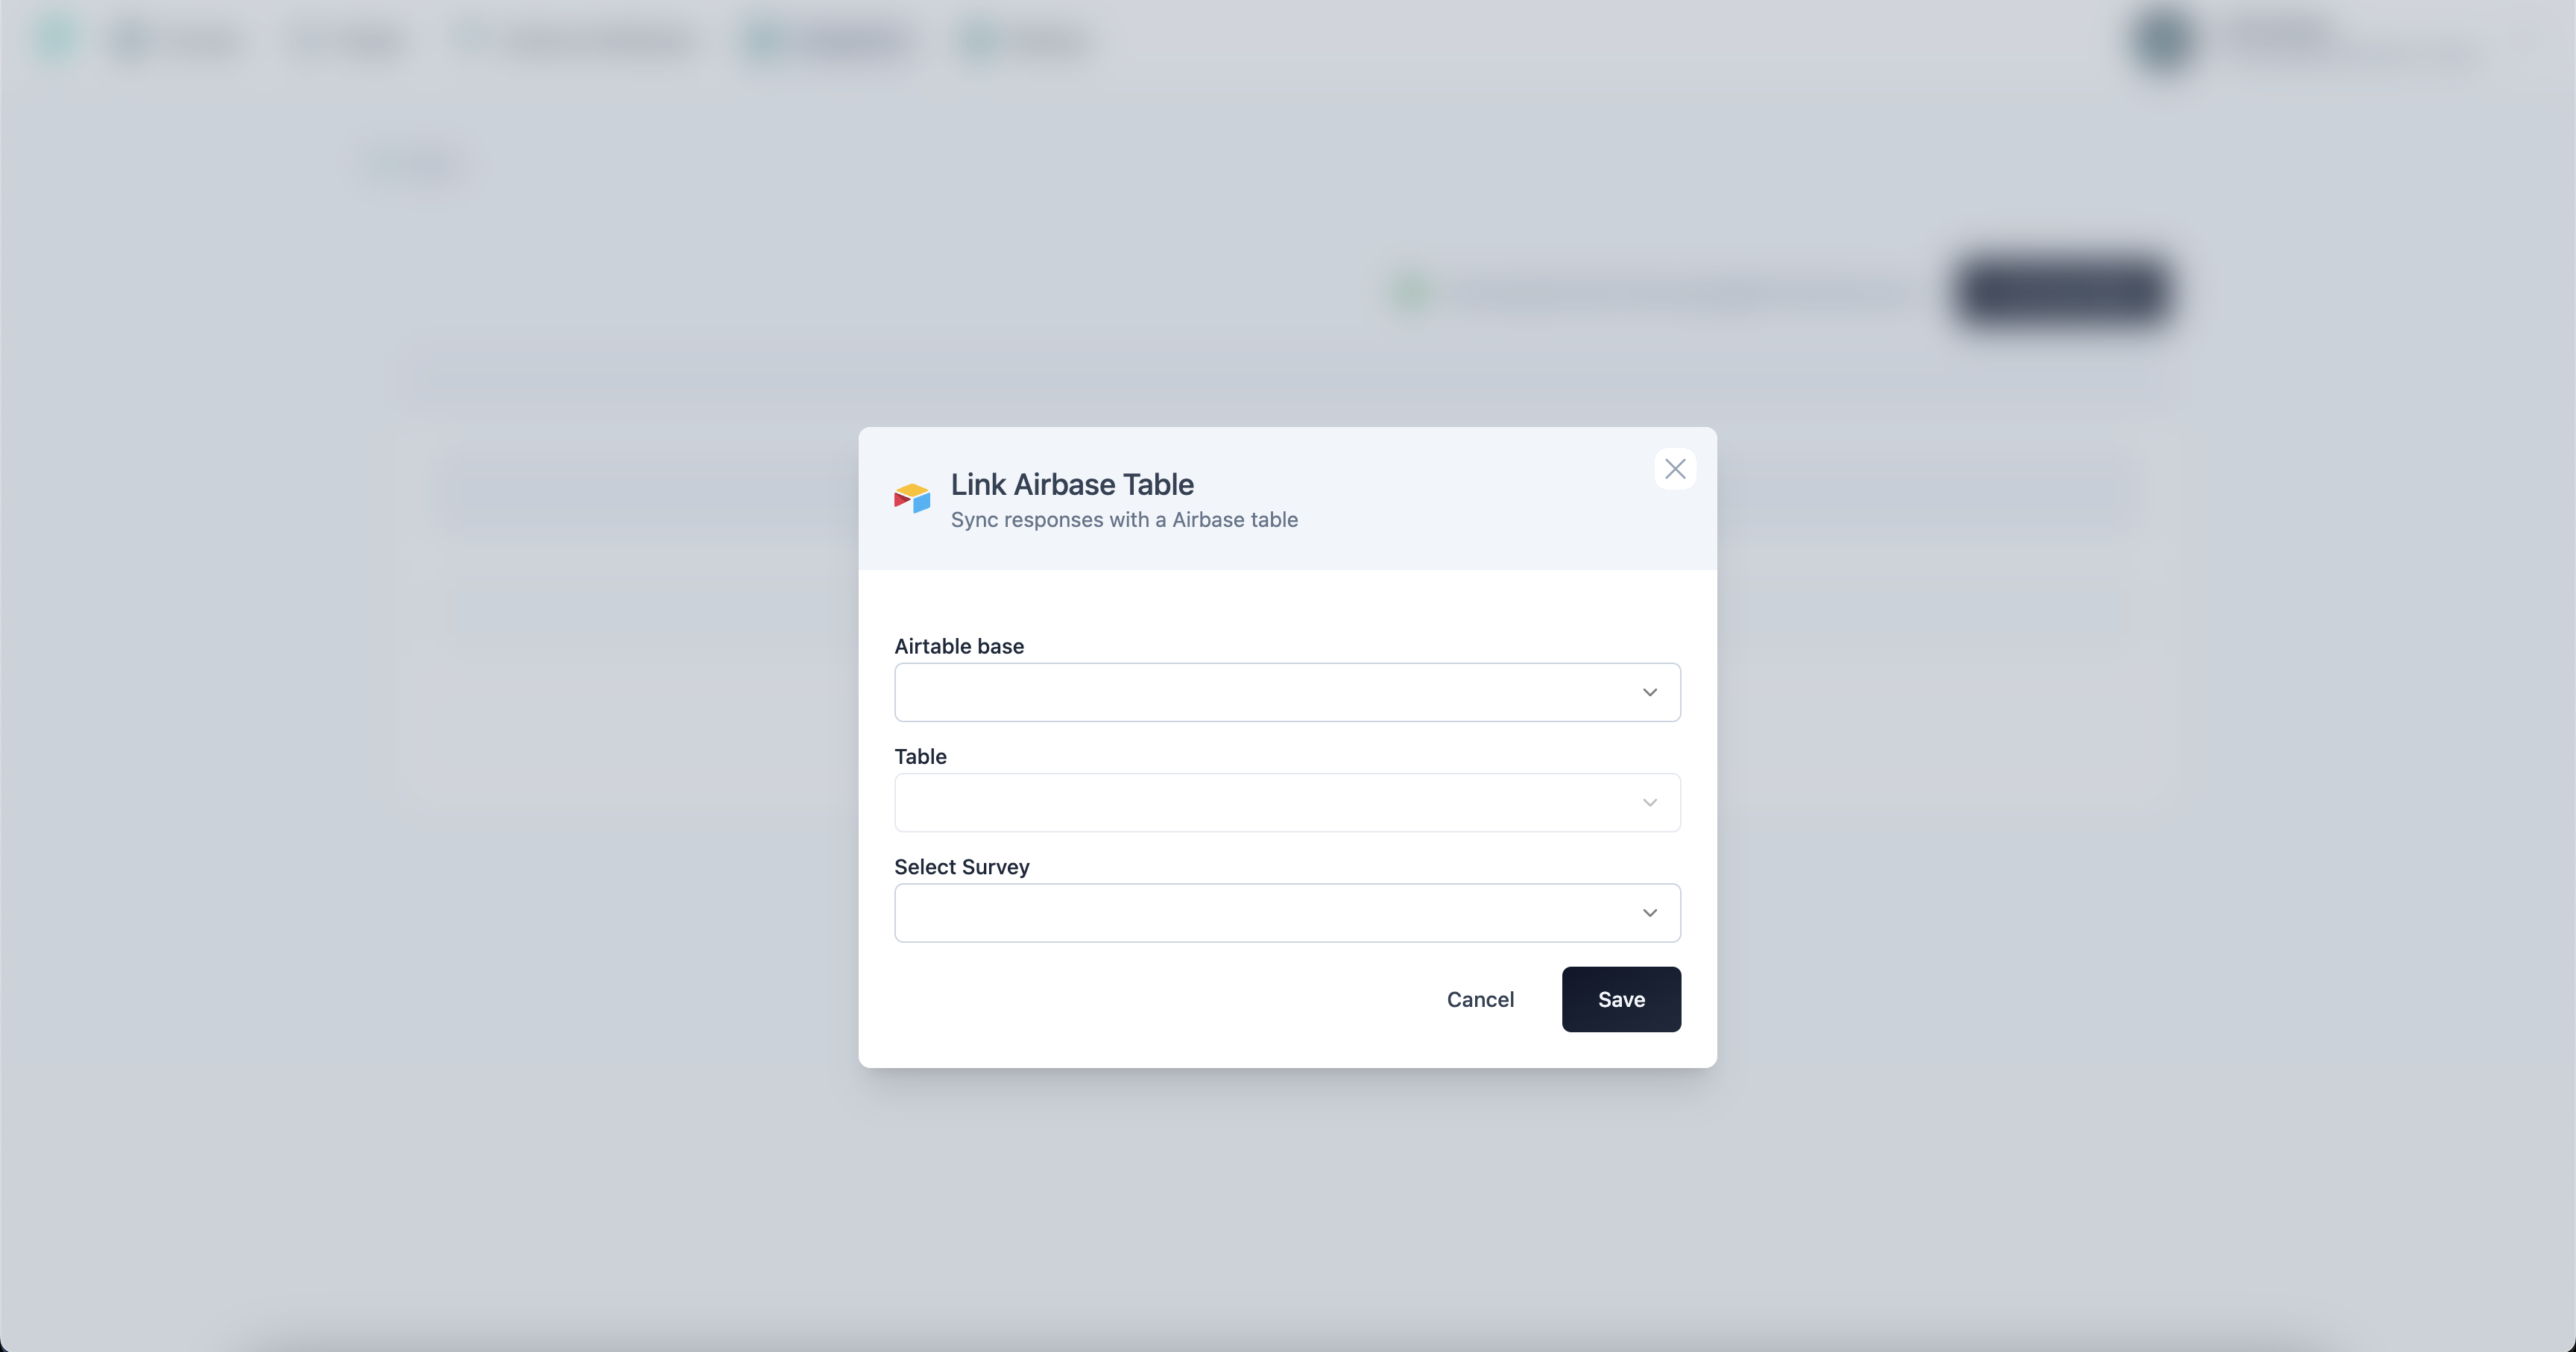
- Select the Base and table you want to link with Formbricks and the Survey. On doing so, you will be asked with what questions' responses you want to feed in Airtable. Select the questions and click on the "Save" button.

- On submitting, the modal will close and you will see the linked table in the list of linked tables.
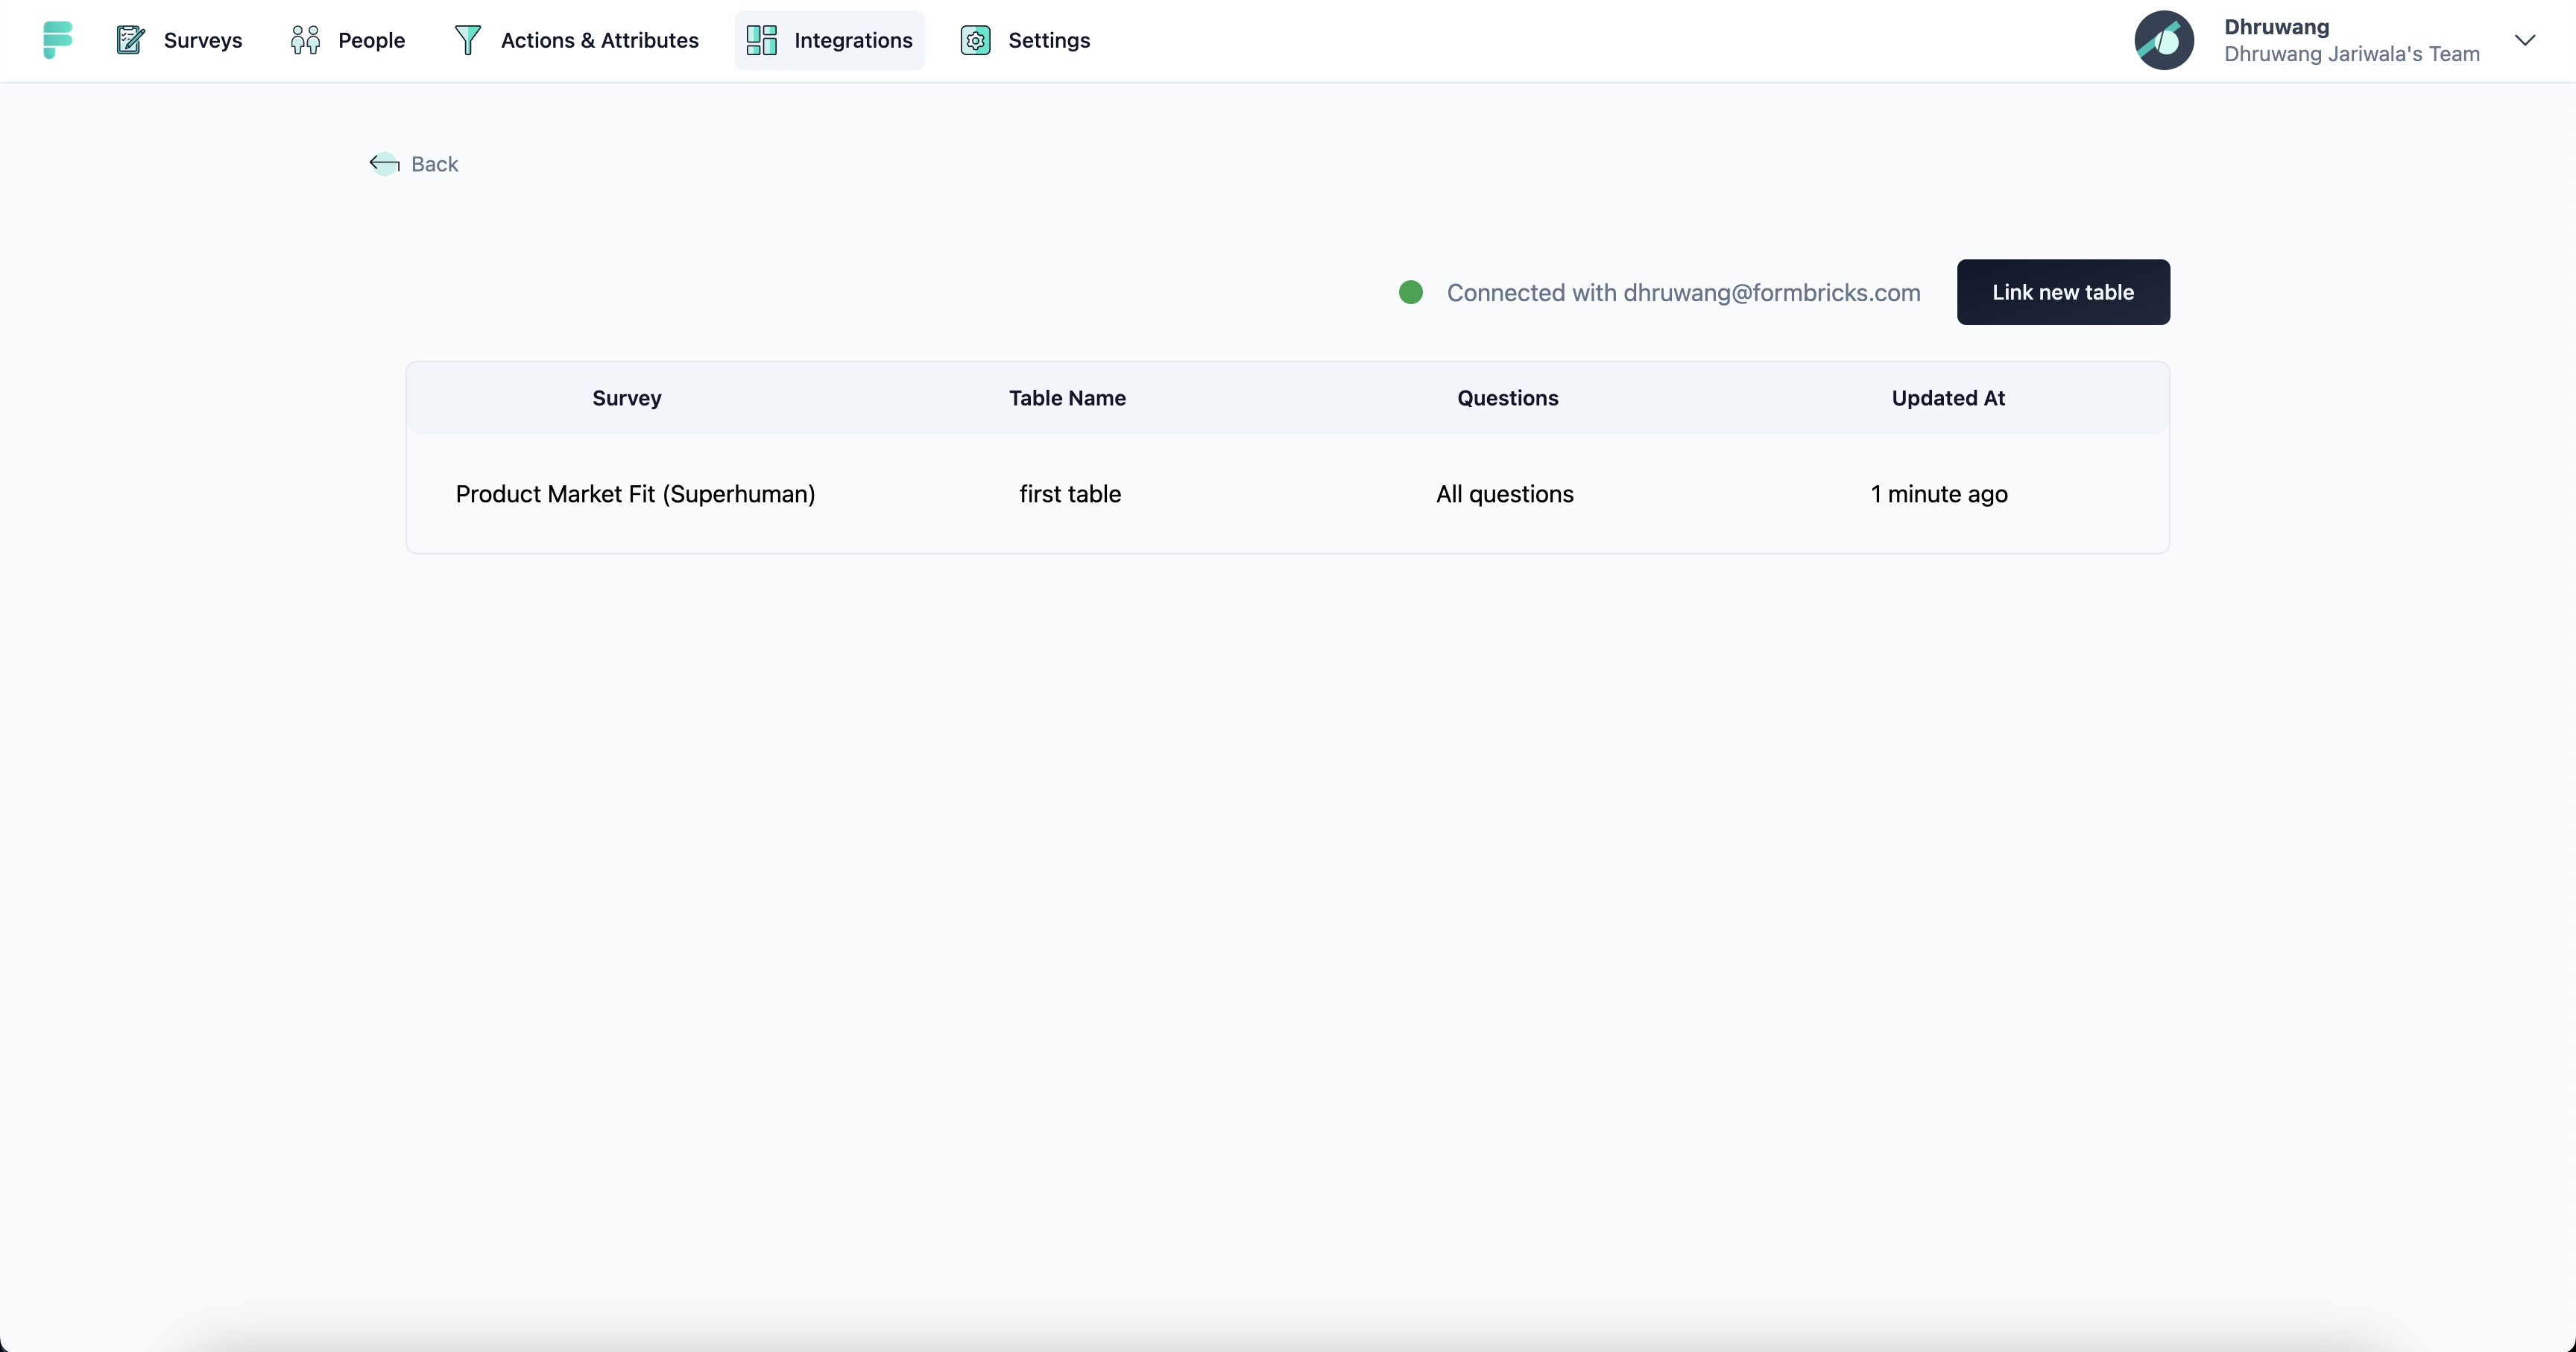
Congratulations! You have successfully linked an Airtable with Formbricks. Now whenever a response is submitted for the linked Survey, it will be automatically added to the linked Airtable.
Still struggling or something not working as expected? Join our Discord! and we'd be glad to assist you!
Setup in self-hosted Formbricks
Enabling the Airtable Integration in a self-hosted environment requires creating an airtable account and changing the environment variables of your Formbricks instance.
-
Go to the Airtable and create a new account if you dont already have one.
-
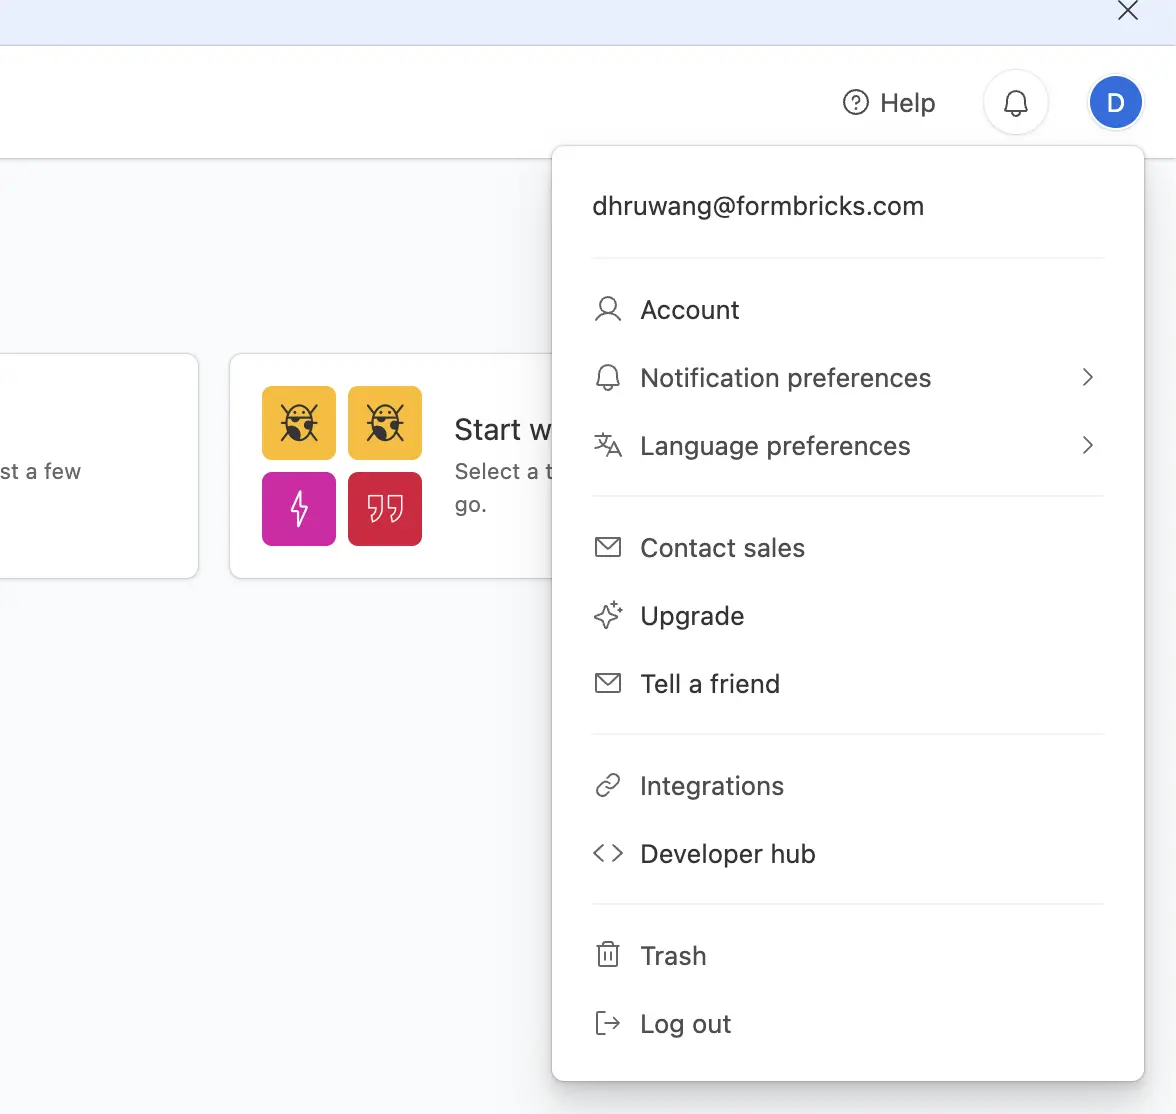
Click on user icon on top left and open to Developer hub
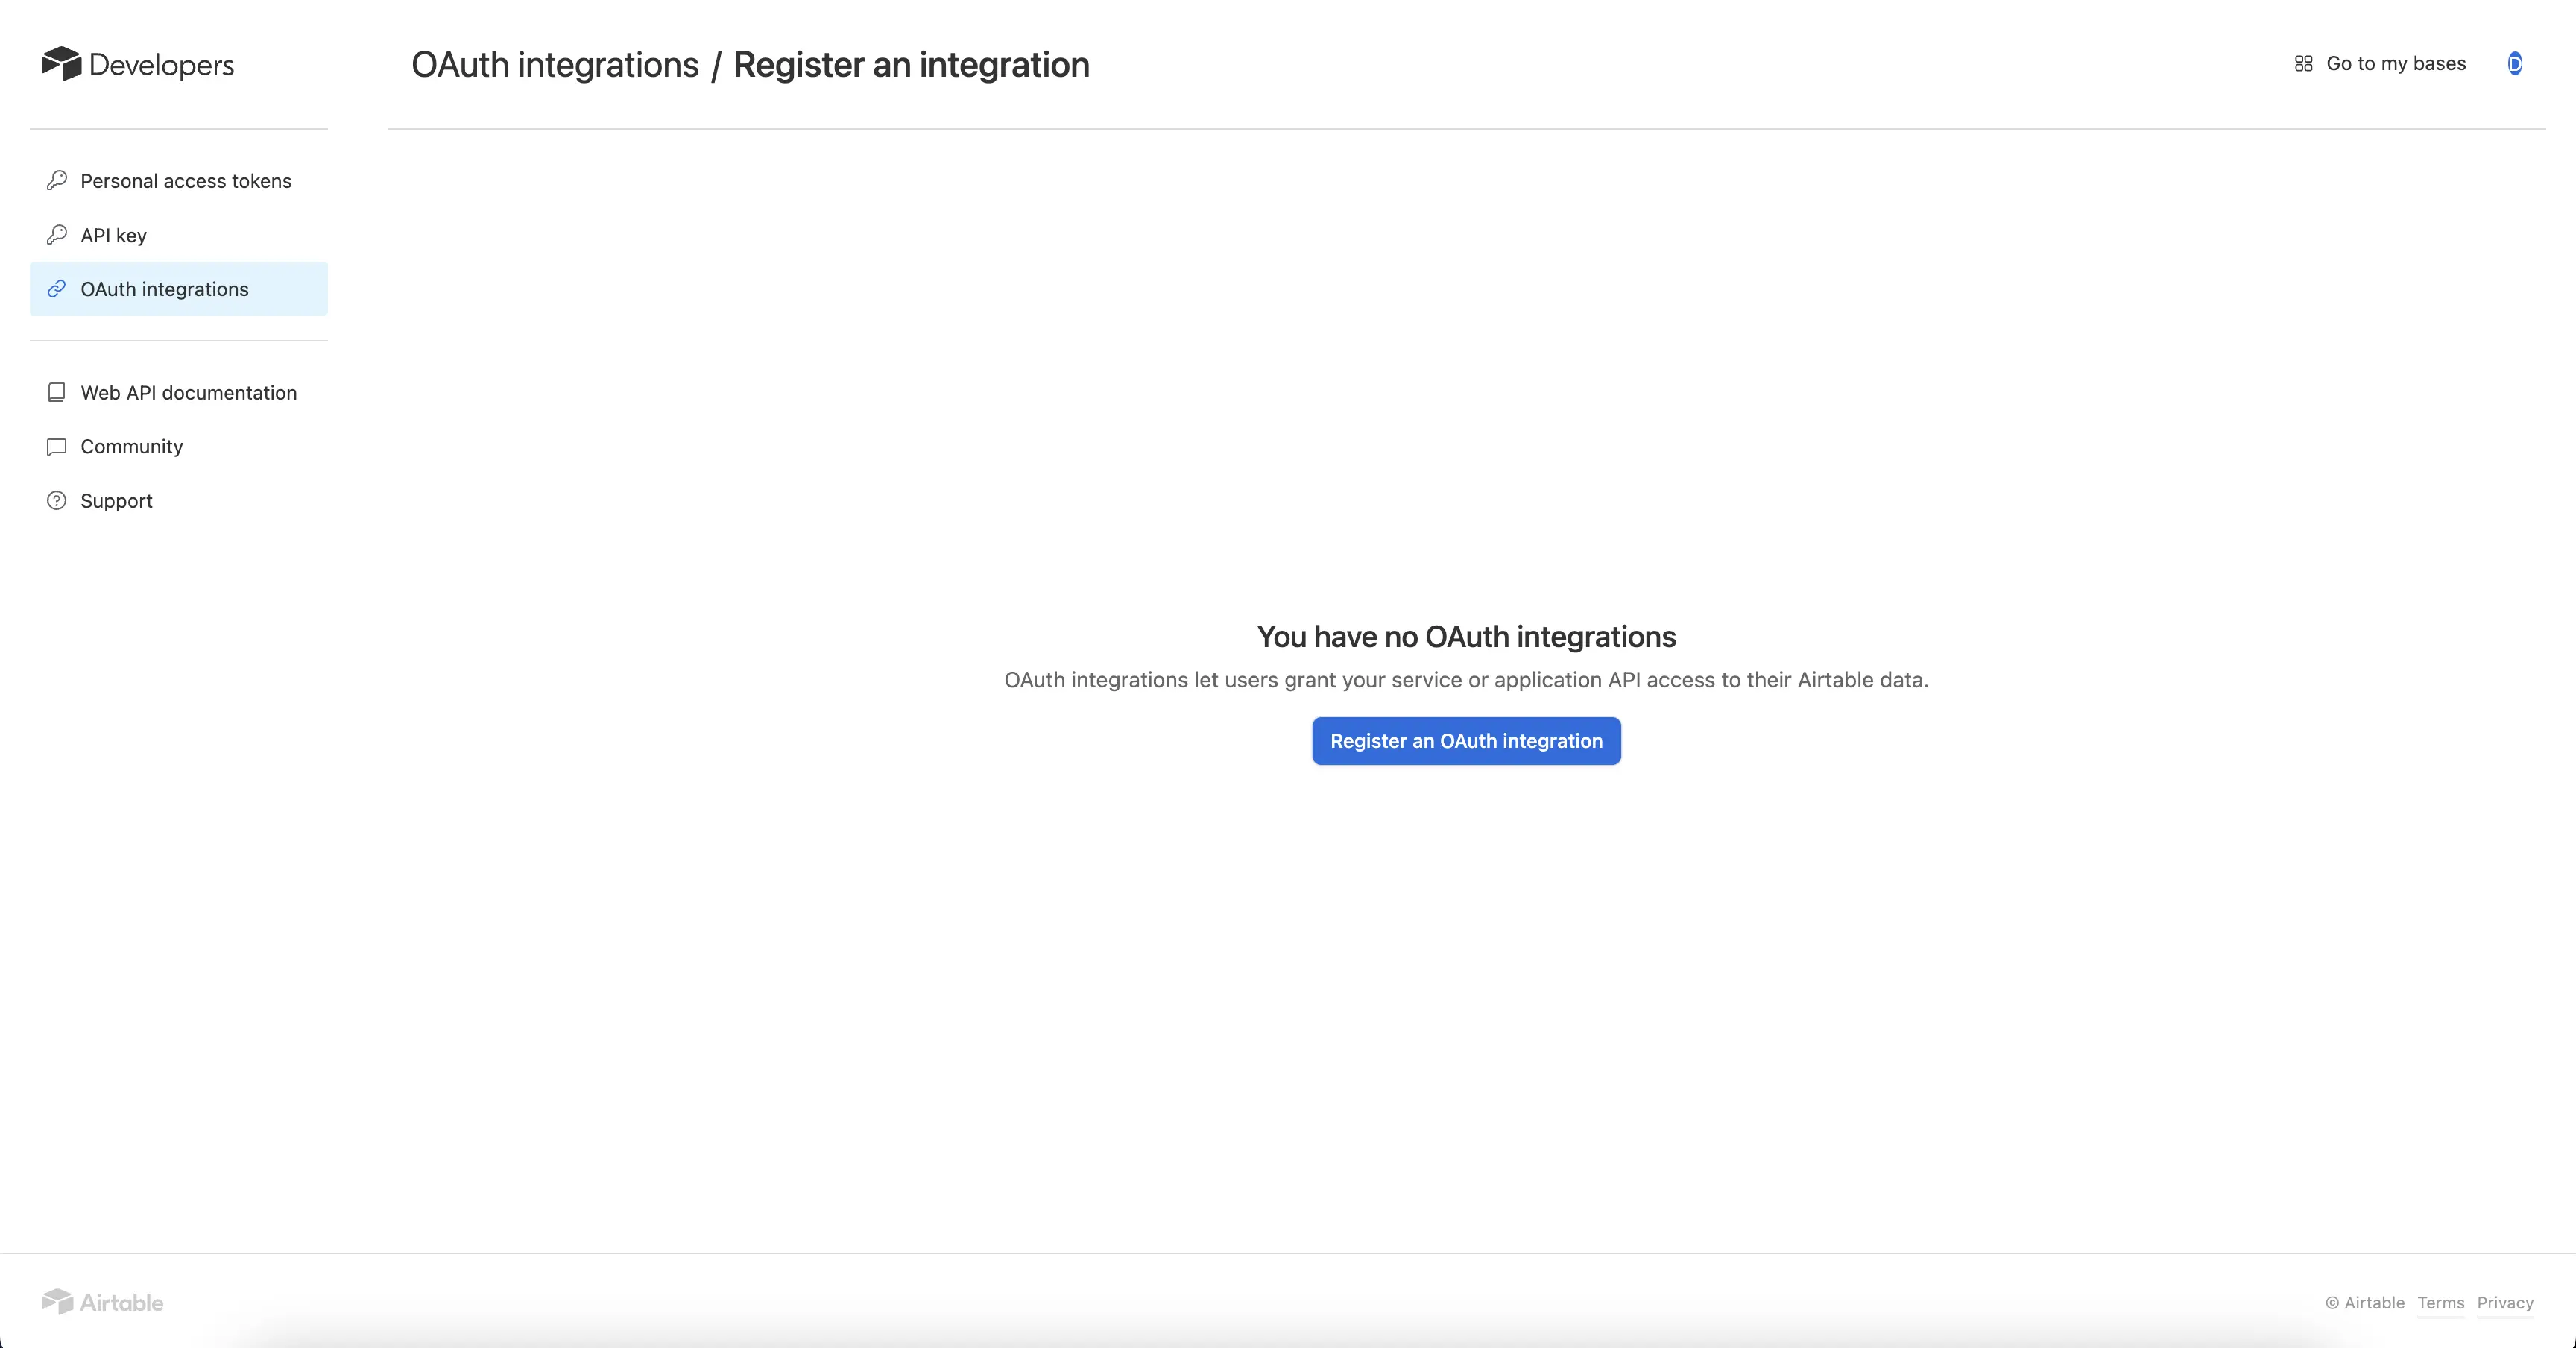
- Navigate to OAuth integrations and click on Register an OAuth integrations
-
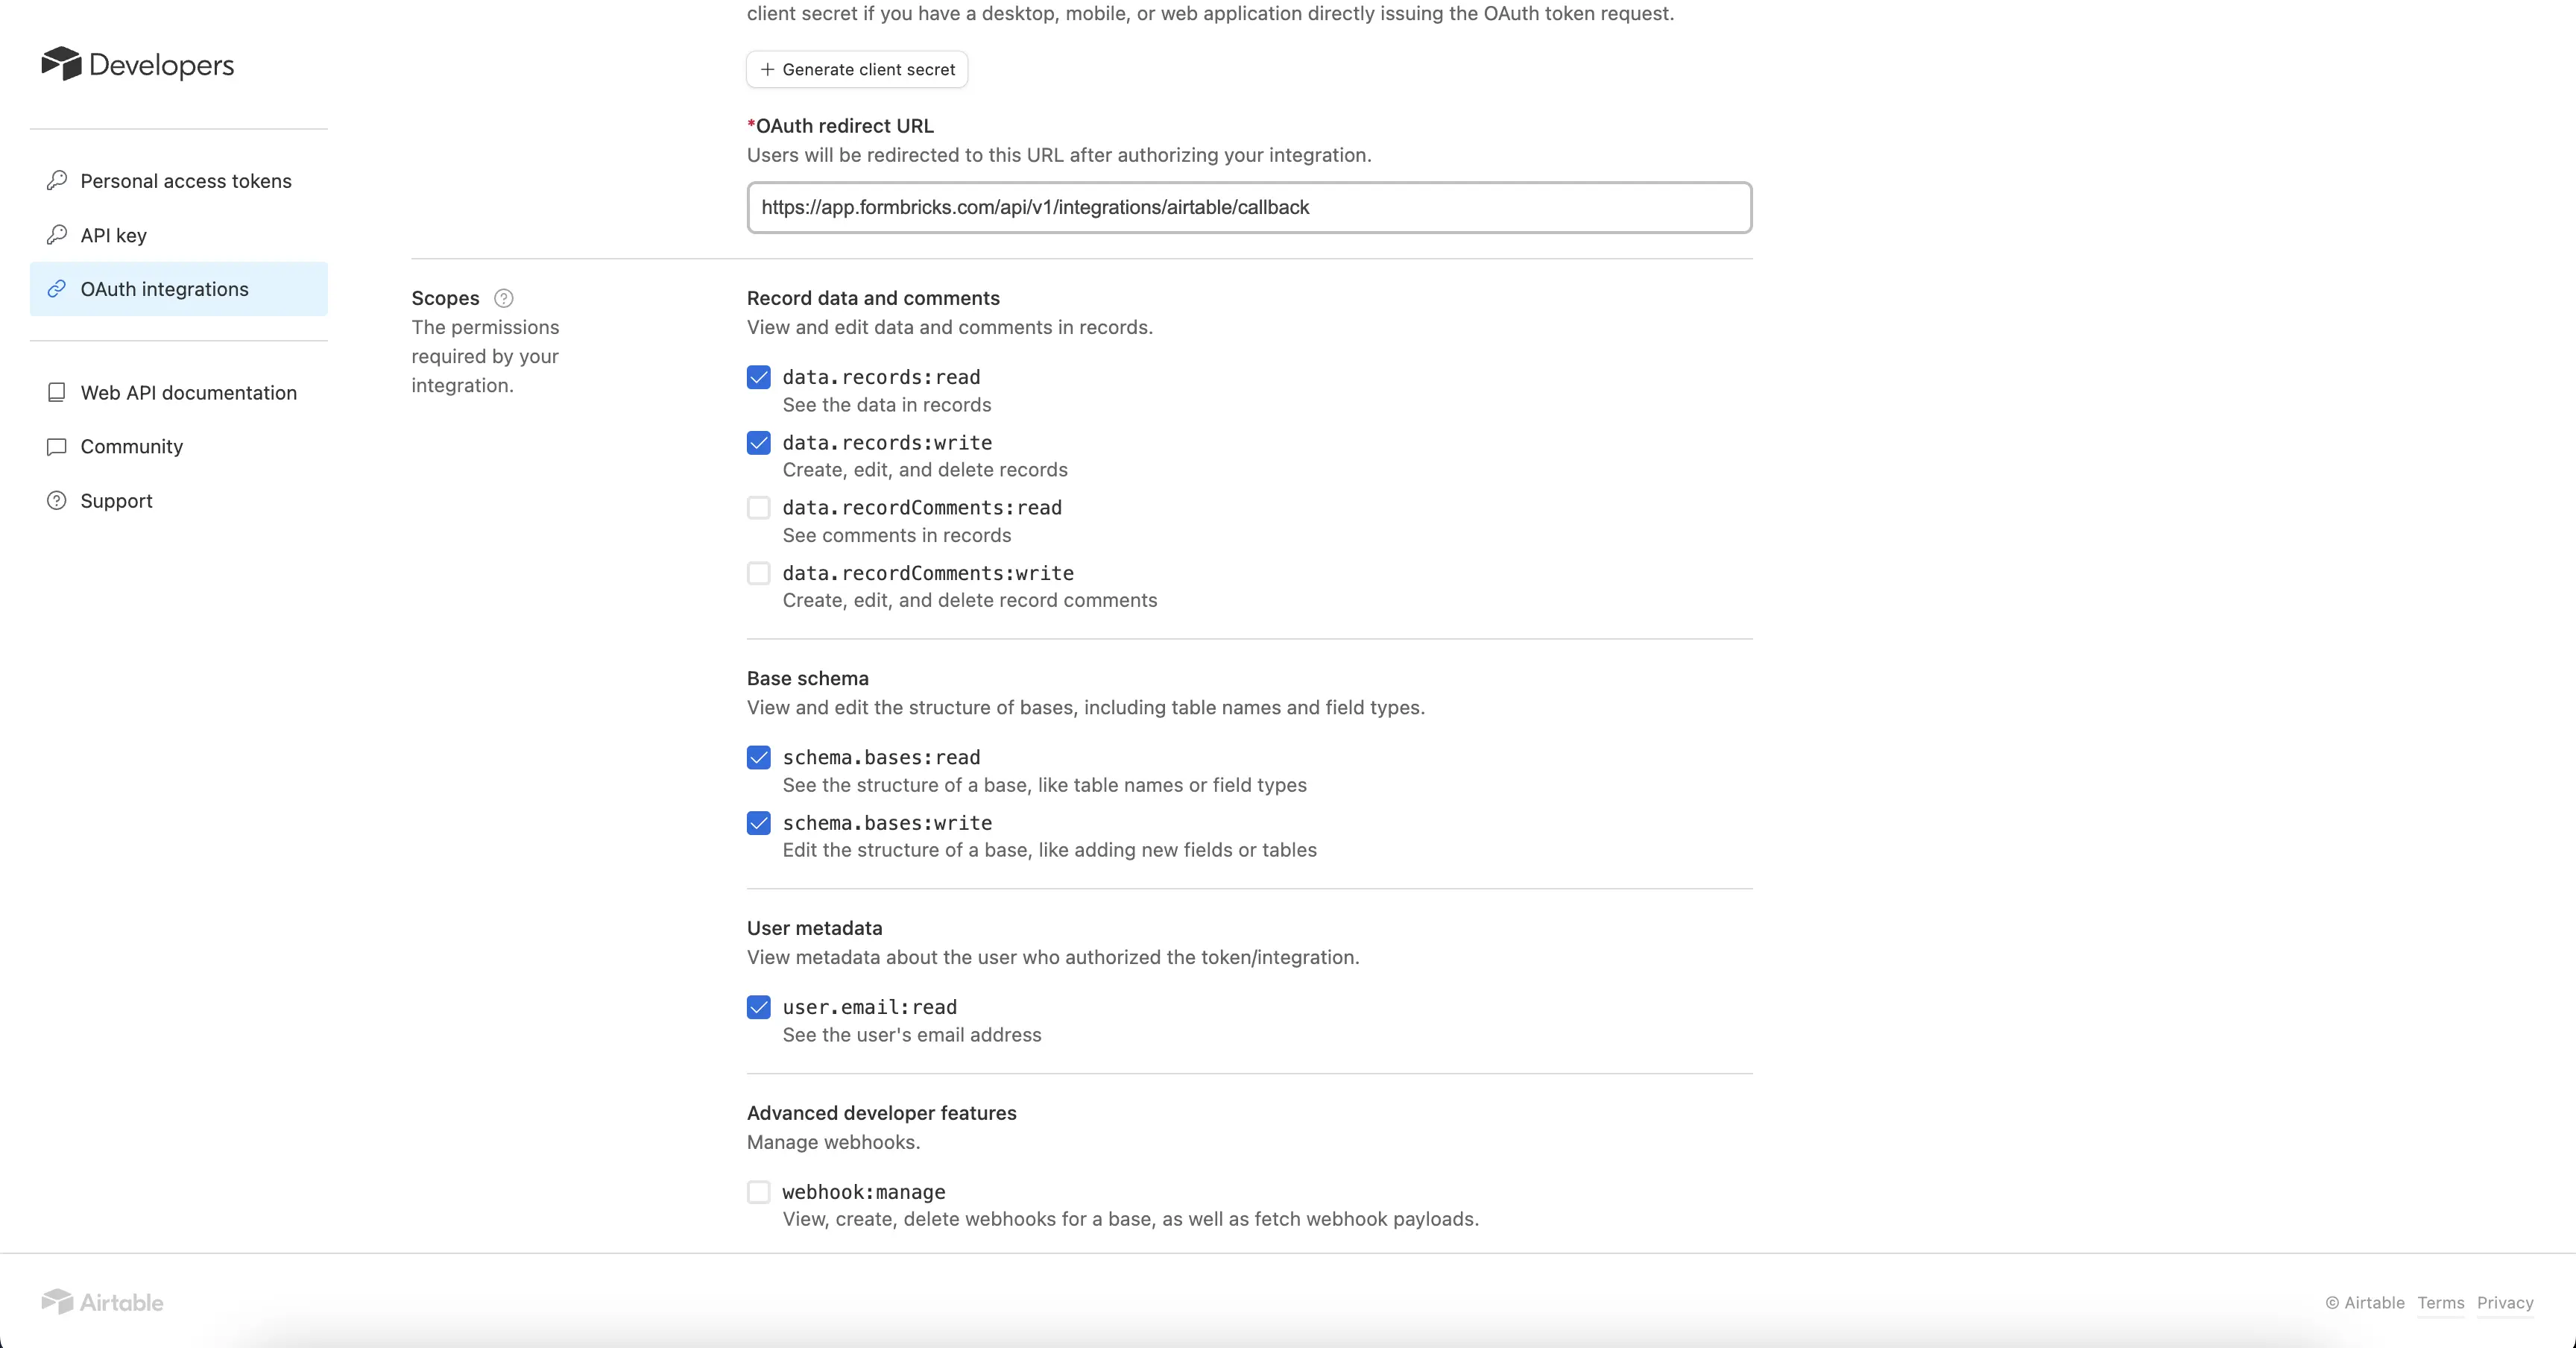
Select a name for you integration and also add a redirect URL which will be YOUR_WEBAPP_URL/api/v1/integrations/airtable/callback

-
Now fill some basic details about your integrations and then go to scope section. You need to enable 5 scopes
- data.records:read
- data.records:write
- schema.bases:read
- schema.bases:write
- user.email:read
- Click on the "Save" button and you are done
- Now just copy client id and redirect url for your integration and add it to formbricks .env file
By now, your environment variables should include the below ones:
AIRTABLE_CLIENT_IDAIRTABLE_REDIRECT_URL
Voila! You have successfully enabled the Airtable integration in your self-hosted Formbricks instance. Now you can follow the steps mentioned in the Formbricks Cloud section to link an Airtable with Formbricks.
Remove Integration with Airtable
To remove the integration with Airtable,
- Visit the Integrations tab in your Formbricks Cloud dashboard.
- Select "Manage" button in the Airtable card.
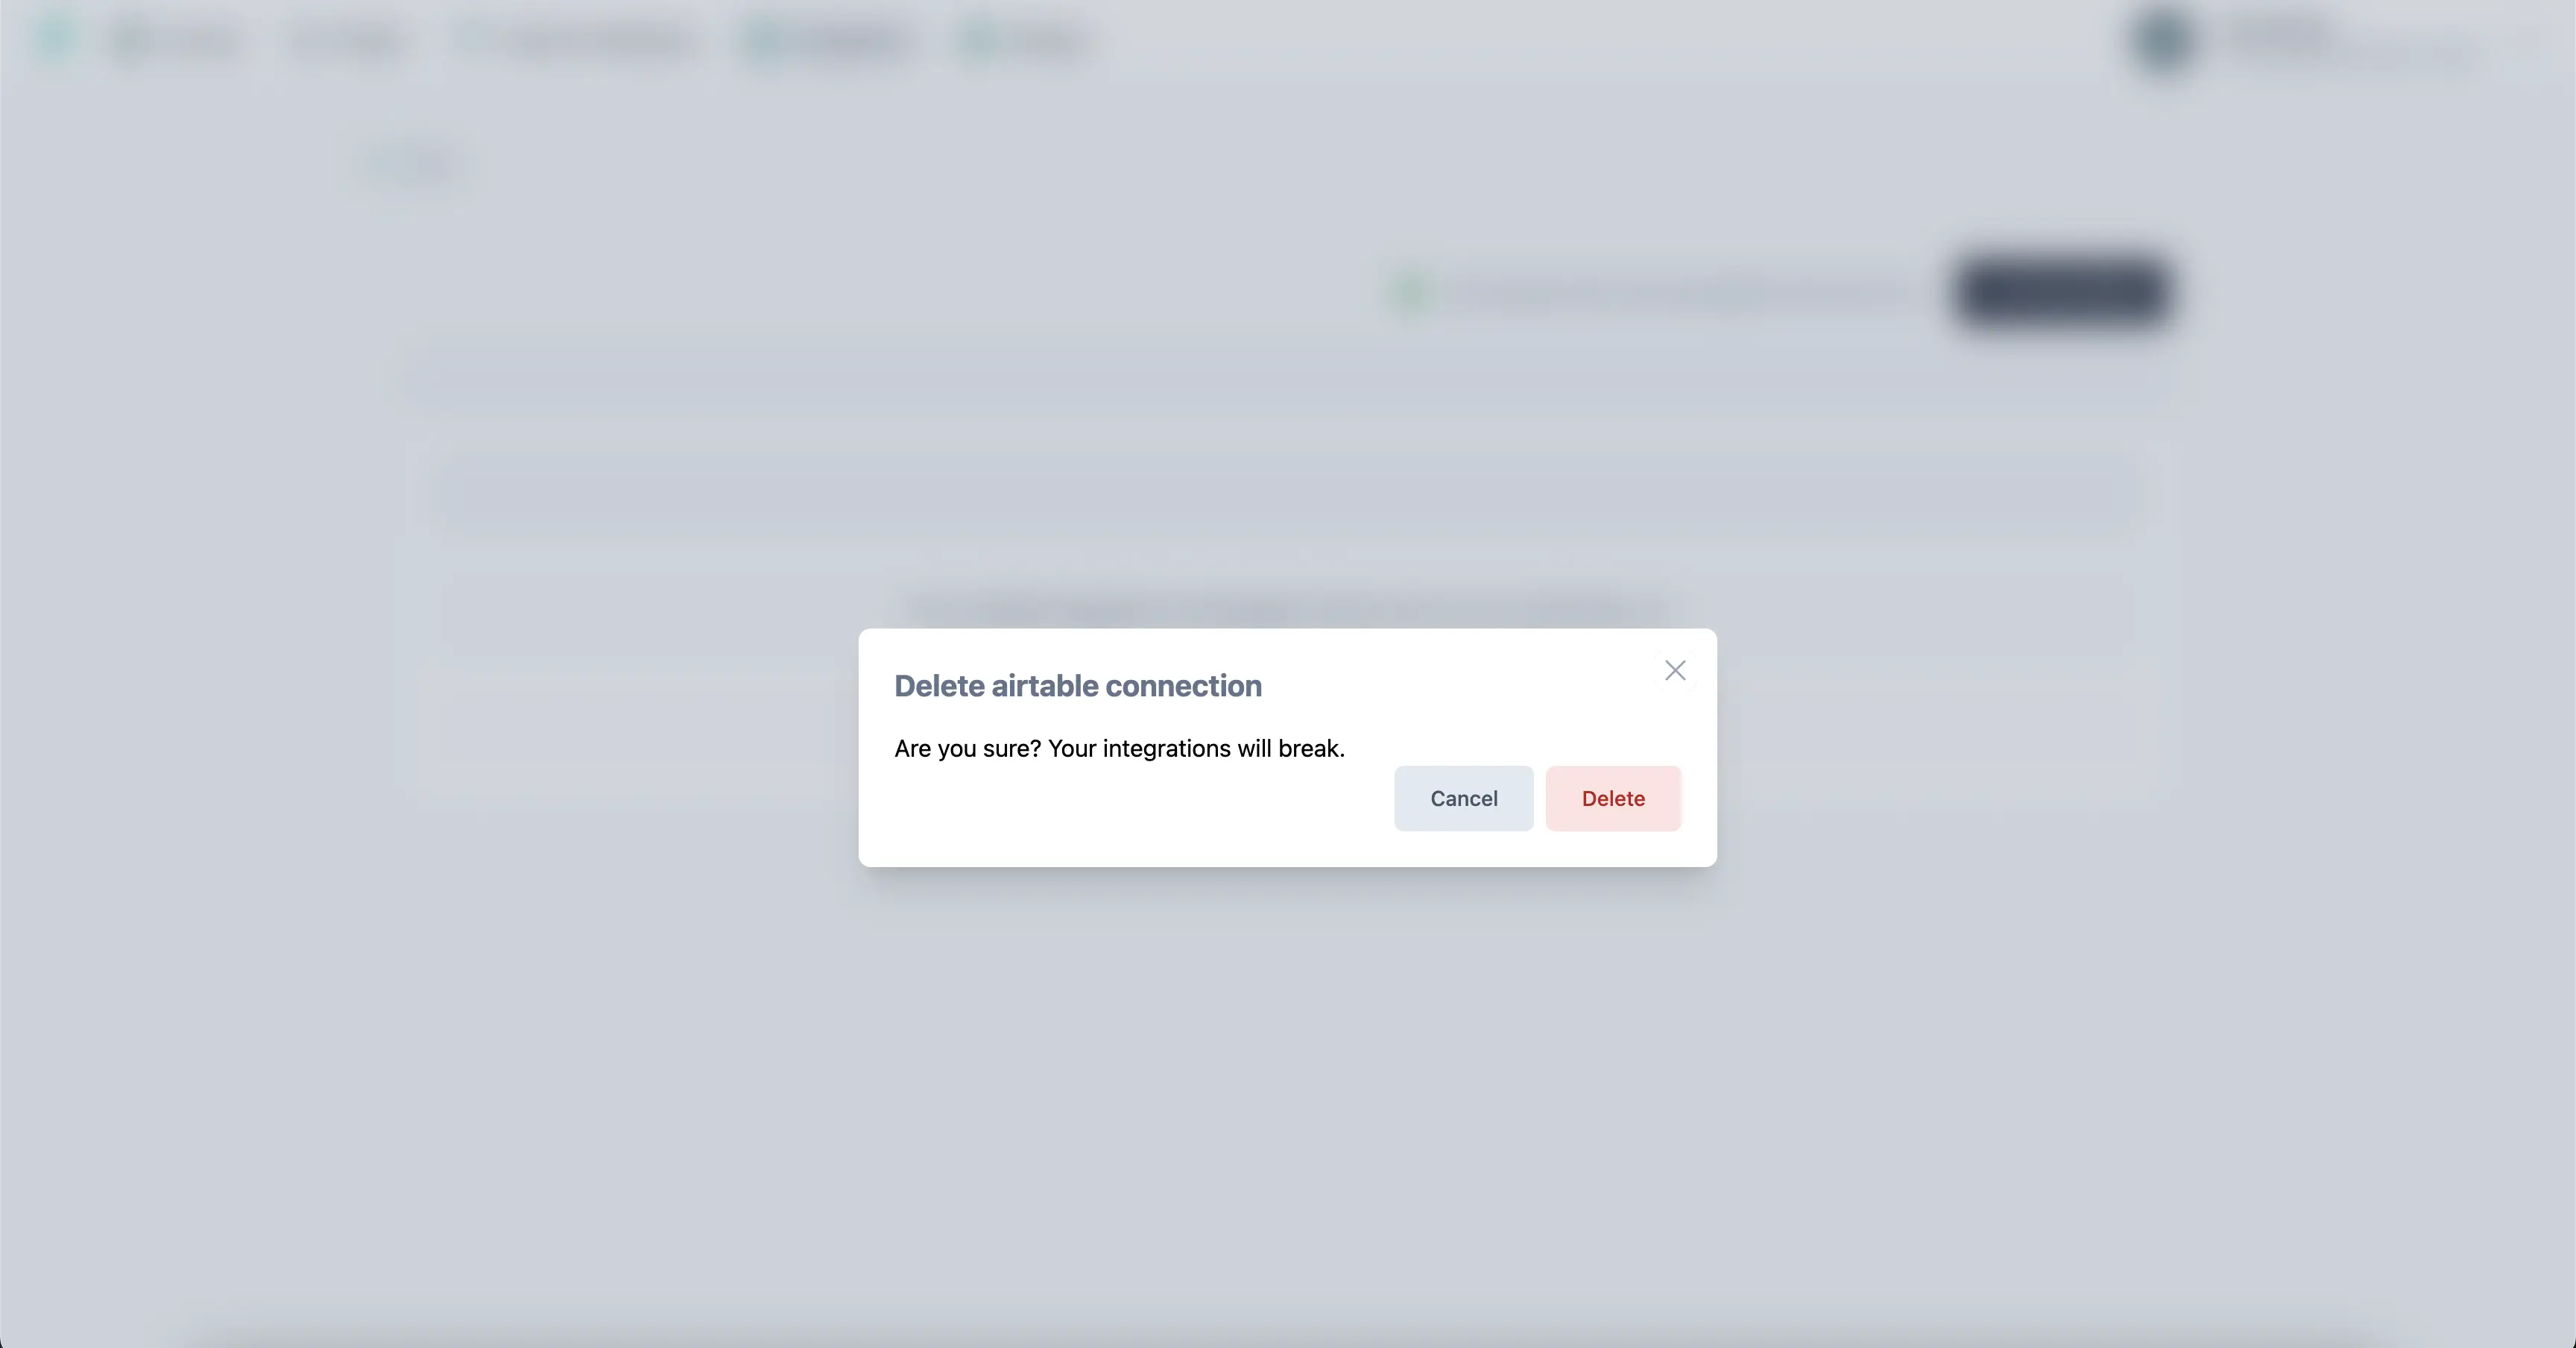
- Click on the "Connected with
<your-email-here>" just before the "Link new Table" button. - It will now ask for a confirmation to remove the integration. Click on the "Delete" button to remove the integration. You can always come back and connect again with the same Airtable Account.
We do not store any other information of yours! We value Privacy more than you and rest assured you're safe with us!
Still struggling or something not working as expected? Join our Discord! and we'd be glad to assist you!